
If the lights in your Mamava pod aren’t working, you may need to change the light bulb. (Please note: Solo V2.0 and Solo Base have an LED strip light. If it isn’t working, check the connection at the end of the fixture.)
This article will help you determine the root cause of the issue.
If you know you need a new light bulb, contact Mamava to order one and follow the steps below to change it.
Tools required
- Phillips head screwdriver
- Ladder
- New lightbulb
How to replace a light bulb in your Mamava pod
You’ll need to access the top of your pod, so have your ladder handy.
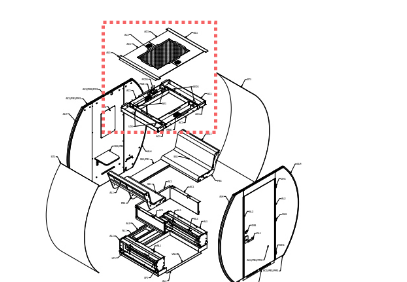
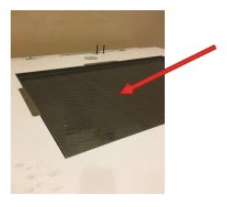
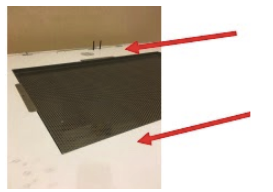
- Remove the perforated roof pan with your Phillips head screwdriver.
- Lift off the white front and rear roof pan covers.
- Unhook the wire harness parts feeding the light(s).
- Unscrew the fitting on the light bulb.
- Lift the bulb out.
- Insert the new bulb.
- Refasten new bulb fittings with screws and plug the light wires into the white connectors.
- Replace both front and rear roof pan covers.
- Refasten the perforated roof pan. Ta da!
Test the lights and fans
- Open the pod door with the app or the keypad.
- Pass: The lights and fans turn on when you open the door, stay on for 30 seconds while the door is open, and then turn off.
- Fail: The fans come on but the lights don’t.
- Enter the pod and lock the door behind you.
- Pass: The lights and fans stay on while you’re in the pod.
- Fail: The lights turn off at any point while you’re in the pod.
- Use the in-app experiences.
- Pass: You can adjust the lights.
- Fail: The lights flicker or don't adjust.
If your pod passes these tests, that’s great news! If it doesn’t, we may need to replace the wire harness. Please reach out to our Service team to request this service. Here are instructions on how to change it out when the part arrives.