We recommend that the Solo V1.1 be placed on a flat even surface when installed, but we understand that your final site location may not be perfect. (For tips on how to check if your surface is level, read this article.) You’ll know you need to realign your Solo door if it doesn’t close properly, the deadbolt doesn't latch, the door rubs against the door frame, or there are uneven gaps around the door.
If you have already installed your Solo V1.1 on a flat even surface and are still having problems, follow the steps below.
Tools Required
- 9/16ths socket wrench
- 5.5 mm hex key (or 7/32” equivalent)
Optional
- Light working gloves as some of the edges are sharp
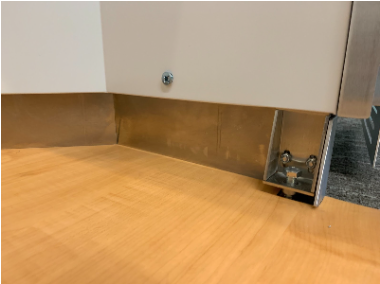
Step 1: Access the leveling hardware inside your pod.
- First remove the adhesive stickers on the beauty panel, and stick them next to the holes for now.
- Use your hex key to unlock the Rotolocks.
- Carefully pull the beauty panel out—starting with the top flange—then unhook from the bottom.
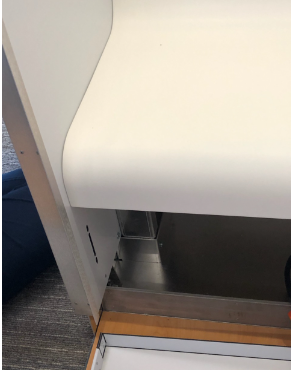
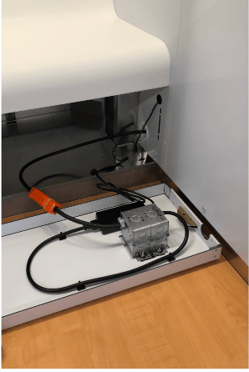
- You’ll find three leveling feet behind the beauty panel and one on the floor pan under the door hinges.
Step 2: Lower the leveling feet to make adjustments to your pod.
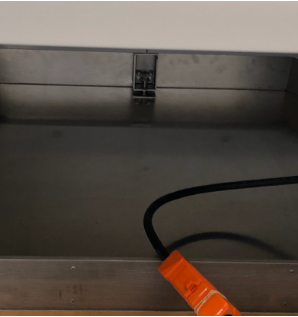
- Before making any adjustments to your pod, make sure that the leveling feet are completely off the floor. To do that, unscrew all four bolts by turning them counterclockwise with your hand.
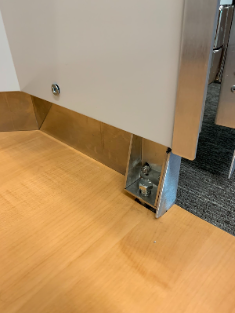
- Use the 9/16" socket wrench to adjust the leveling bolts as needed. To square the door, turn the bolts clockwise to raise that section of the wall panel. (We suggest starting with the foot under the door hinges.)
- Repeat this leveling process on the front middle, then the back middle, and finally the far leveling feet as needed.
Step 3: Test your pod.
- When you’ve finished adjusting the leveling feet, check to see if the door opens and closes easily.
- Make sure the deadbolt engages smoothly. If there are any issues, reassess the alignment and adjust the leveling feet accordingly.
Step 4: Reassemble your pod.
- Once the door is aligned and functioning properly, reinstall the beauty panels underneath the bench. Hook the bottom flange onto the chassis first, then slide the top flange between the chassis and the bench.
- Lock the Rotolocks with your hex key and cover the holes with the adhesive patches.
How to assemble your Solo V1.1 lactation pod.